Master the foundation of yoga. Follow the steps below to align your body correctly, then use the timer to hold the pose with intention.
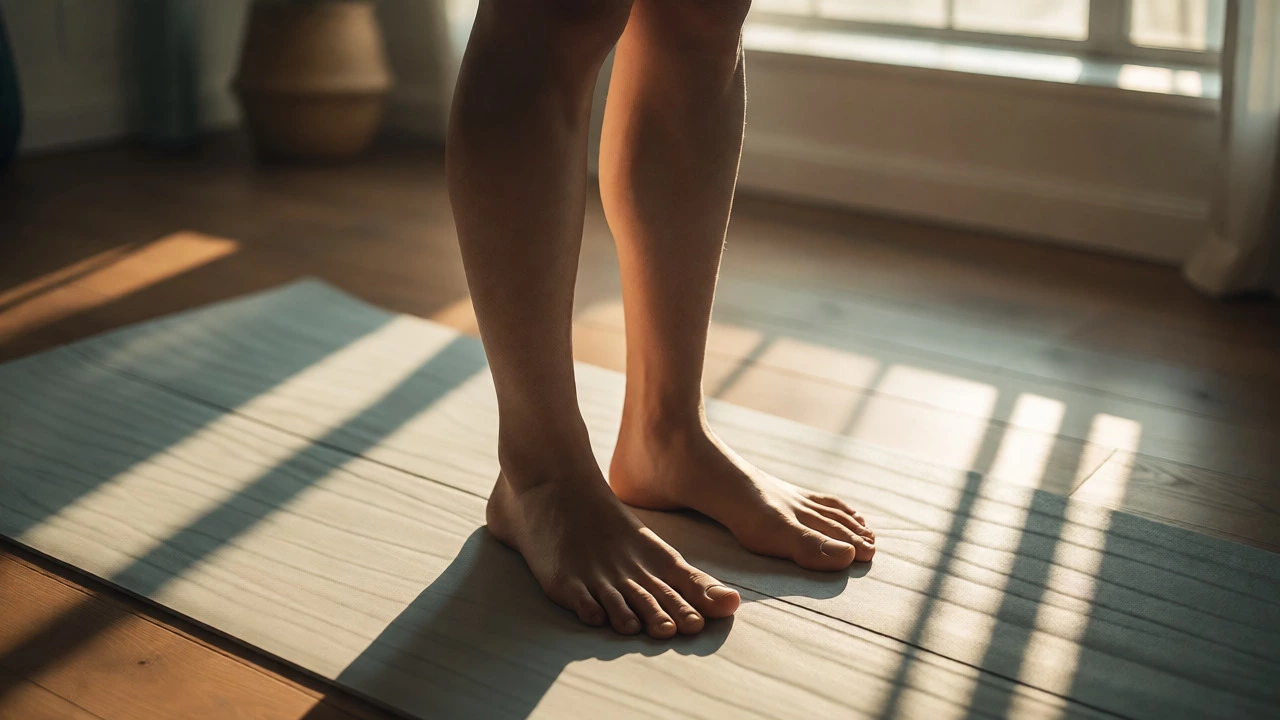
Stand with big toes touching or feet hip-width apart. Press down through all four corners of your feet.
Lift kneecaps by engaging quadriceps. Keep a micro-bend in knees to avoid locking.
Tuck tailbone slightly downward to lengthen lower back. Imagine a bowl of water on your pelvis.
Lengthen spine upward. Roll shoulders up, back, and down away from ears.
Arms hang naturally by sides, palms facing forward or inward. Fingers spread wide.
Fix gaze on a non-moving point (Drishti). Breathe deeply into belly, ribs, and chest.
Recommended hold time: 5–10 breaths
Press Start to Begin
You walk into a studio or roll out your mat at home, and suddenly everyone around you looks like they’re made of rubber. They’re twisting into pretzels, balancing on one leg while touching their nose with their elbow, and breathing like it’s second nature. You might think the first yoga move to learn is something flashy, like a handstand or a deep backbend. But here’s the truth: if you can’t stand still, you can’t do anything else.
The most fundamental pose in yoga isn’t a stretch or a strength challenge. It’s Mountain Pose, known in Sanskrit as Tadasana. It is the foundational standing posture from which all other standing poses are derived. Think of it as the reset button for your body. If you skip this, you’re building a house on sand. Mastering how to stand correctly changes everything-your balance, your breath, and even how you carry yourself off the mat.
It sounds too simple to be true, right? Just standing there? But try holding it for five minutes without fidgeting. You’ll quickly realize that "standing" is actually an active engagement of muscles you didn’t know you had. In my years teaching in Perth’s humid summers, I’ve seen countless students rush past Tadasana to get to the "fun" stuff. They end up wobbling in Warrior II or straining their backs in Forward Fold because their foundation was shaky.
Mountain Pose teaches you alignment. It connects your feet to the earth and your crown to the sky. This vertical line is what protects your spine when you eventually bend forward or twist sideways. Without this baseline awareness, you’re just moving limbs without purpose. With it, every movement becomes intentional.
Don’t just drop onto your mat and hope for the best. Approach this pose with the same seriousness you’d give a complex sequence. Here is exactly how to set it up:
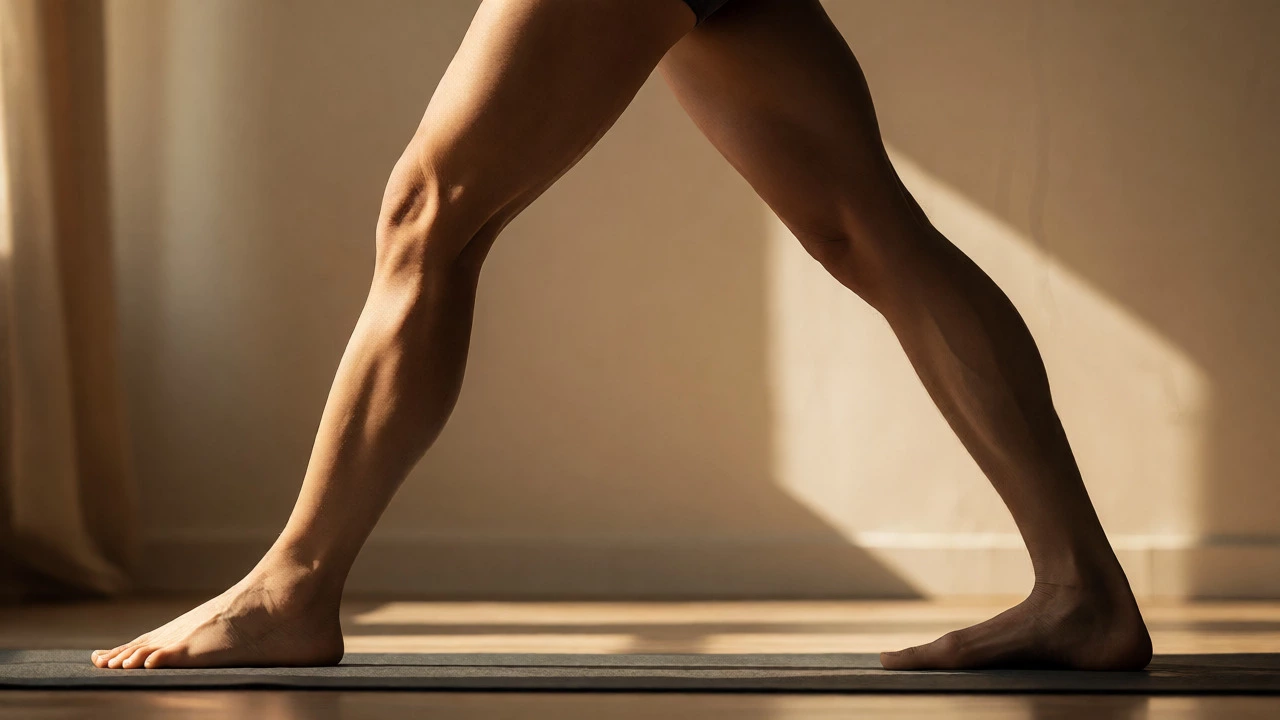
Even in such a static pose, errors creep in. The most common issue is collapsing into the joints. You might feel like you’re resting, but your lower back is compressing, or your shoulders are hunching up toward your ears. Another frequent mistake is gripping with the toes. If your toes are clawing the floor, your legs aren’t working-they’re compensating. Unlock those toes and let them spread flat.
Also, watch out for holding your breath. Beginners often tense up unconsciously. If you’re struggling to breathe smoothly, check your alignment. Are you slouching? Is your jaw clenched? Softening the face helps soften the rest of the body.
Once you feel grounded in Tadasana, you have the stability to explore the next logical moves. Yoga flows logically from this center. You don’t jump straight into inversions. Instead, you build outward.
| Next Pose | Sanskrit Name | Primary Benefit | Connection to Mountain Pose |
|---|---|---|---|
| Forward Fold | Uttanasana | Hamstring stretch, calming nervous system | Hinge from hips while maintaining foot grounding |
| Warrior I | Virabhadrasana I | Strengthens legs, opens hips | Shift weight from centered stance to lunge |
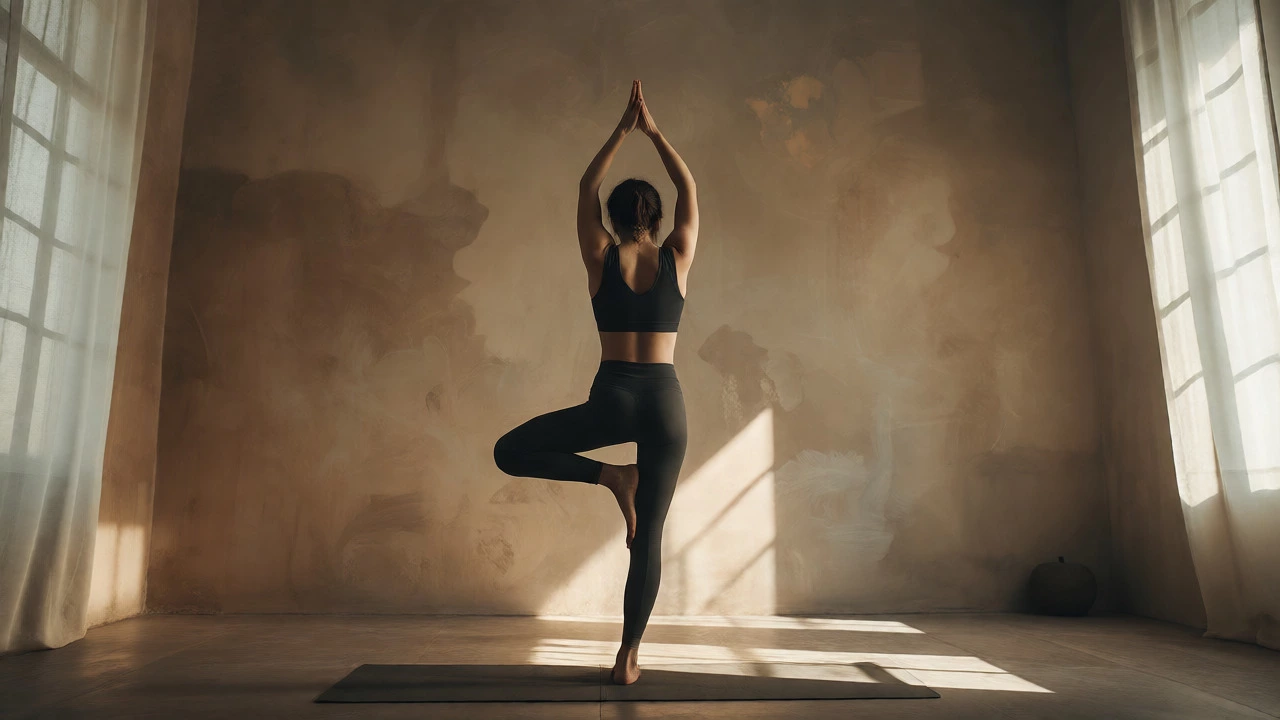
| Tree Pose | Vrksasana | Balance, focus, ankle stability | Lift one leg while keeping base strong |
Notice how each of these relies on the principles of Mountain Pose. In Forward Fold, you maintain the connection to the ground while bending. In Warrior I, you create a new base but keep the spine long. In Tree Pose, you test your balance by removing support, but the remaining leg must mimic the stability of the full stance.
Yoga injuries rarely happen during dramatic poses. They happen because we lack control in simple ones. When you rush into Downward Dog without understanding how to distribute weight through your hands and feet, you risk wrist strain or hamstring tears. Mountain Pose teaches you proprioception-the awareness of where your body is in space.
Think about walking. You don’t think about placing your heel, rolling through the foot, and pushing off the toe. But if you sprain your ankle, you suddenly become aware of every step. Yoga brings that mindful attention back to daily life. By mastering the art of standing, you protect your knees, hips, and spine for decades of practice.
You don’t need a fancy studio to start. All you need is a flat surface and about ten minutes. Here’s how to make the most of your early sessions:
Yes, absolutely. While it looks like simple standing, Tadasana requires active muscular engagement and mental focus. It is classified as a foundational standing pose in Hatha and Vinyasa yoga traditions because it establishes proper alignment for all subsequent movements.
Start with 5 to 10 deep breaths. As you become more comfortable with the alignment cues, you can extend this to 1-2 minutes. The goal is not duration initially, but quality of attention and structural integrity.
Generally, yes, but with modifications. Keep a slight micro-bend in the knees to avoid locking them, which can aggravate joint issues. Engage your thigh muscles to take pressure off the knee joint itself. If pain persists, consult a physiotherapist before continuing.
Normal standing is often passive, relying on bone structure and gravity. Mountain Pose is active; you consciously engage your core, lift your chest, press into your feet, and align your spine. It turns a mundane activity into a mindful exercise.
No equipment is strictly necessary. A yoga mat provides cushioning and grip, but you can practice on any flat, non-slippery surface. Comfortable clothing that allows free movement is recommended, but no props are required for the basic pose.